Making herbal infusions is easy and can be done with items you probably already have in your kitchen. Pans, jars with lids, wire strainer, and mugs are few examples of the items you might find useful for making your infusions.
In this fourth post in the plant medicine series, we’ll look at making herbal infusions using using oil, alcohol or water as a base.
Here are the first three posts from this series:
- What is Plant Medicine? The Basics.
- Learning Plant Medicine for Beginners
- Start Your Own Home Apothecary: Tools & Methods
Getting Started Making Herbal Infusions
Start small. If it’s your first go at making an infusion, begin with a small batch. That way, if it doesn’t go well, you won’t be out too much material.
Different bases are used because you’ll be using the infusions in different ways.
- Oil-infused bases are great on the skin because the oil has additional benefits to the skin.
- Alcohol-infused bases are good for the preparations you take internally. The alcohol helps to preserve the infusion for many years and can also be added to body sprays that will last for a very long time.
- The water-infused base is used as a quick way to prepare your herbs and can be taken internally.
Now, let’s look at how to make each one of them.
Making Oil Herbal Infusions
When making oil infusions, you’ll be preparing an infused base that can then be used for salves and skin care products. The most widely used is organic olive oil, which you probably already have in your kitchen cabinet.
Tip: if you’re using olive oil, buy the best quality olive oil you can afford. Once you become comfortable, you might want to experiment with other types of oils. For skin care oils, I use and love fractionated coconut and sweet almond oils.
It’s very simple to make an infused oil. The dried plant material is placed in a jar, and oil is poured over the plant and then filled to the top. Make sure that all the plant material is completely covered with the oil. Label your jar with what plant material you’ve used, what oil you’ve used, the date you prepared it, and the date you expect it to be ready. It could look something like this:
Plant material:
Oil:
Date prepared:
Date ready:
Tip: You can make labels from masking or painters tape and a sharpie. I like using fun colors like pink tape or a purple sharpie for this. Use whatever resonates with you.
Place a lid on the jar and store it in a cool, dark place for several weeks. (A kitchen cabinet works for this.) Shake this infusion periodically. I usually give mine a shake every day.
When the processing time is over, the plant material is strained out of the oil, leaving behind an infused oil. The oil can be used directly on your skin or added to other plant medicines /herbal preparations you want to try. It’s a good practice to make infused oil each year to ensure freshness, since oils will go rancid over time. Always watch for spoilage when making infused oils, since it can happen. It’s better to start over if there’s any doubt.
Making Alcohol Herbal Infusions
Alcohol infusions or tinctures are often made with 100 proof vodka or Everclear. This process allows the infused base to last much longer. These preparations will last much longer than those with the infused oil base.
Alcohol infusions will last for many years. Just give it a good shake and start to use it again. Using a small jar with a dropper is really convenient with these. Then you can add the infusion by the dropper to whatever you are making.
For example, if you decide to make something to help you sleep at night, you can place three or four drops in your mouth before bed. These can also be diluted in water when used.
Note: All infusions will have their own required dosage, so check the recipe for the infusion you’re making for dosage instructions.
The process for making alcohol infusions is the same as when you’re making oil infusions. You add plant material to the jar, then fill it to the top with alcohol. Put a lid on the jar, place it in a dark, cool place. Then, every once in a while, give the jar a good shake.
Store in the dark (like in a cabinet ) for several weeks (most will require 4–6 weeks), before removing the plant material. Once that’s removed, the infused alcohol will last for a very long time without going bad.
Its long shelf life is why it’s so popular with herbalists. These alcohol infusions can be added to other preparations or used in teas. That’s when the dropper really comes in handy.
If you’re worried about the alcohol in it, you can easily add the droppers full to a glass of water to dilute the infused-alcohol.

Making Water Herbal Infusions
Water herbal infusions can be made for daily drinking (like teas) or for adding to syrups or decoctions. These can even be added to your bathwater.
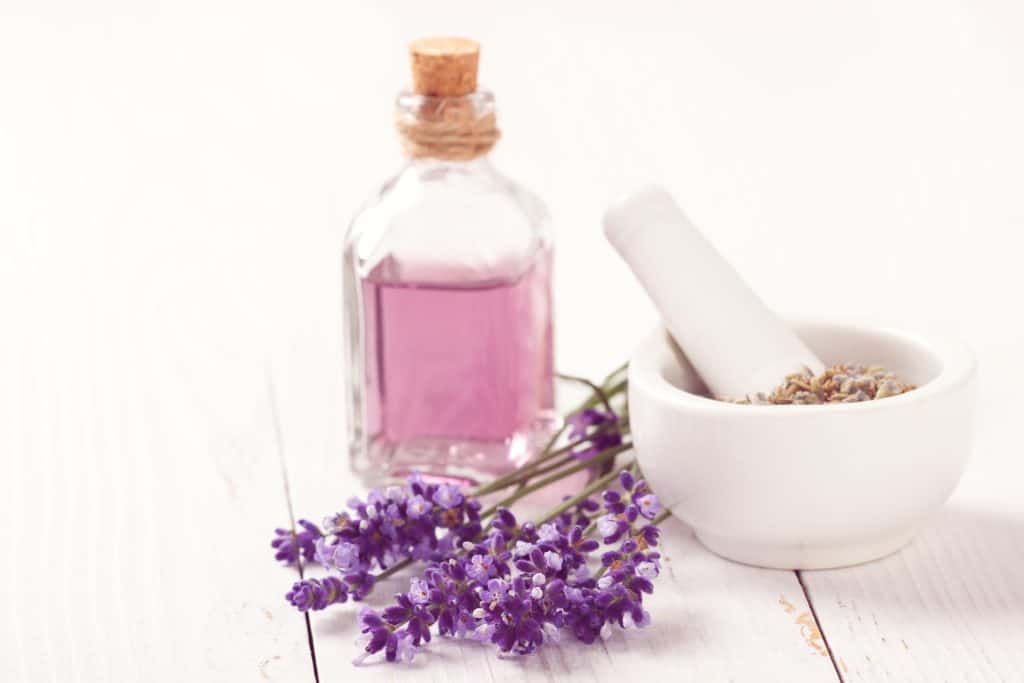
Tip: Try adding a soothing herb like lavender to bathwater.
Water infusions are a simple process and easy to fit into a busy schedule. Because of this, these can be a good things to try first, if you’re new to making infusions.
When making water infusions, it works the same as with the other processes. Add the dry herb to a jar, and add boiling water to the jar. Be sure that all the plant material is in the water. Use a butter knife to mash down any plant material that isn’t under the water. Then add the lid.
Alternately, you can use a glass pan to boil the water, then add the plant material to the glass pan, allow it to cool a bit, and then add it to the glass jar. You can use the jar to measure out how much water you’ll need in the pan. I prefer this method, since I’ve had a few accidents with jars breaking when you pour hot water into them, so use care if you’re using the glass jar method.
Tip: Vision cookware is glass and super handy to have on hand for herbal preparations. I keep a set just for working with herbs.
Store in a cool, dark place for five to eight hours. Then strain off the plant material. Store in the refrigerator for two or three days.
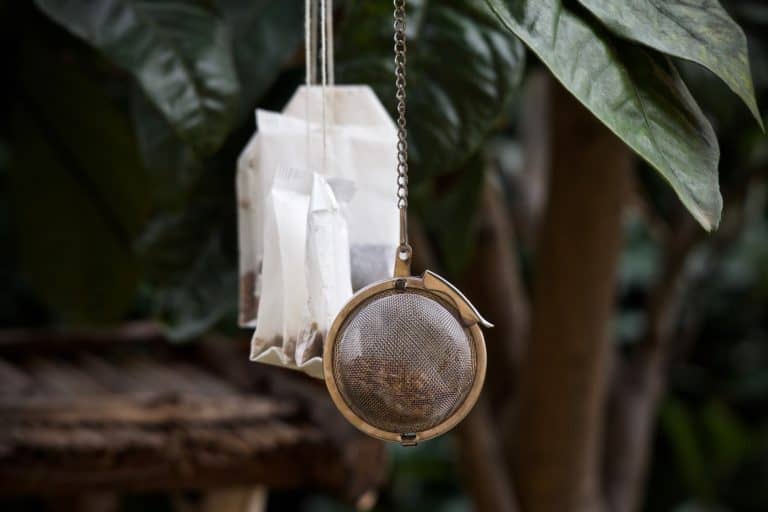
To make tea, which is also a water infusion, add the dried herb to a mesh ball, place it in your favorite mug, then pour boiling water over it, allow it to steep for about 3 minutes, and enjoy!
If you need to buy high quality herbs and supplies, check out Mountain Rose Herbs.
Summary of How to Make Herbal Infusions
Herbal infusions are an easy way to get started with making herbal preparations.
Teas are a great way to begin using herbal infusions. A mesh tea ball and any herb suitable for tea can get you underway.
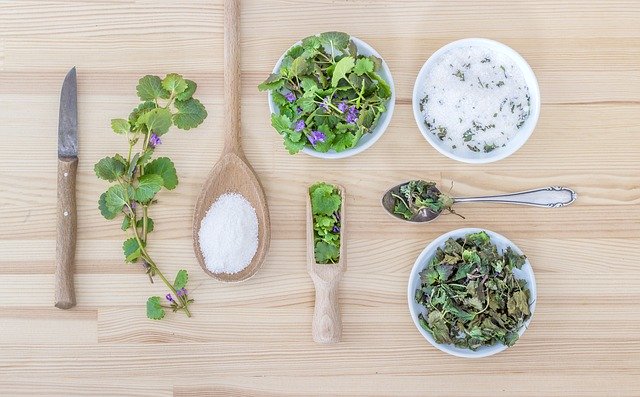
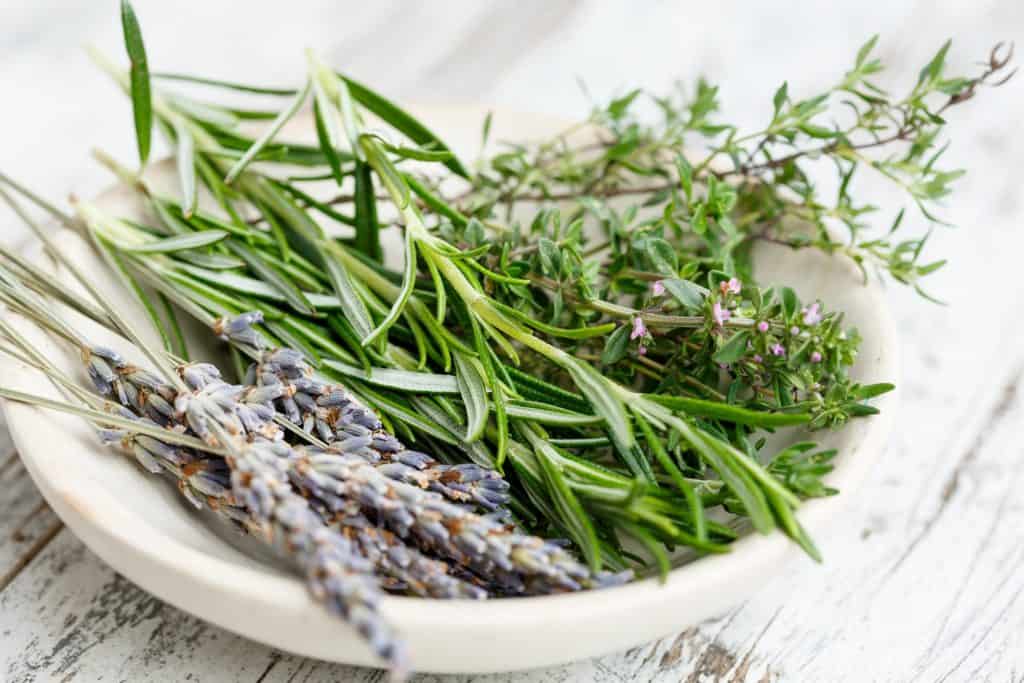
Kitchen herbs can be a good way to begin experimenting with these preparations since you might already have them on hand. Later, you might want to begin using the herbs from your own garden.
Begin small, keep working with it and before long, you’ll be mastering it.
Be sure to check out all the posts in this series.
Blessed be.
Disclaimer: I’m not a medical doctor or an herbalist or an aromatherapist. This article isn’t intended to be medical advice. Not all plants are safe to use. Some are toxic and can be deadly. Others may cause an allergic reaction in some people. Always consult your doctor, healthcare provider, qualified herbalist or aromatherapist before using any type of plant medicine or essential oil.


