Start Your Own Home Apothecary: Tools & Methods
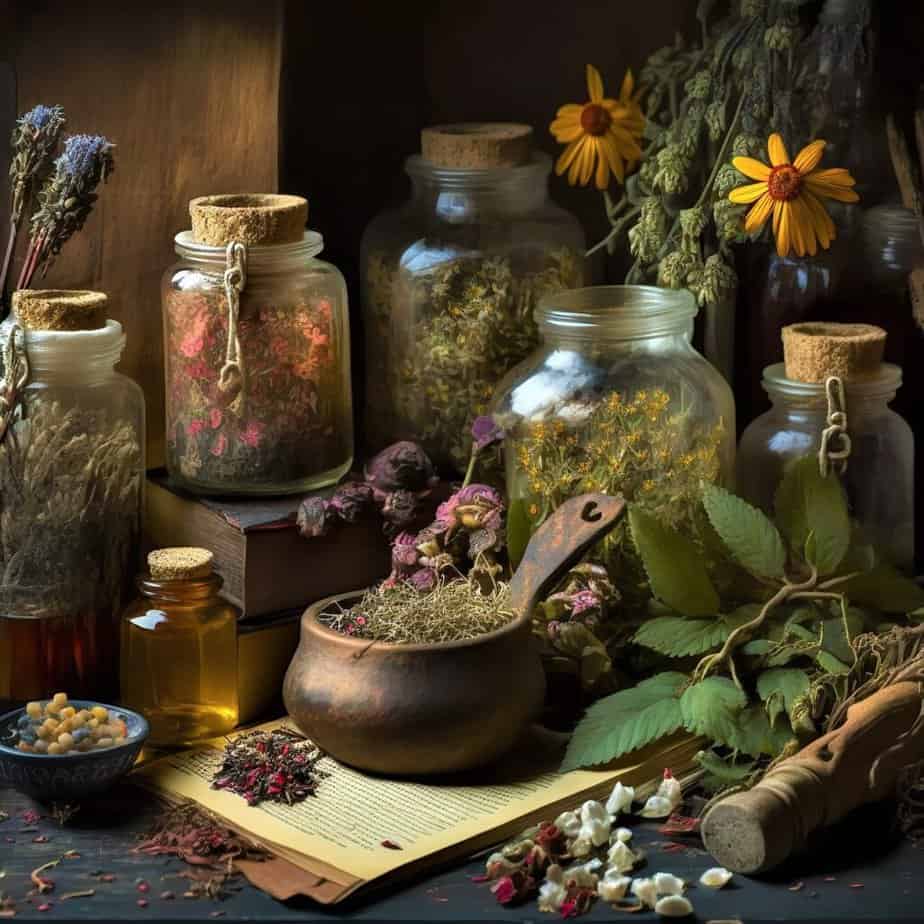
Once you start learning about plant medicine and all the benefits and healing powers these plants offer, you may want to begin building your own home apothecary. That way, you’ll have your own stock of plant medicines on hand. Beginning your own home apothecary requires just a few basic tools and supplies.
This is the third post in the plant medicine series. In it, we’ll look at some basic tools, materials, and methods for creating your own plant medicine apothecary. (Here’s the first and second post in the series.)
Home Apothecary Materials
Begin with a material source. The easiest way to get started is to find a trusted company or brand to buy your herbs and oils from.
Once you are confident with plant identification, you can always forage for some of the plants out in the wild. However, for a beginner, it’s easier and safer to just buy what you need to get started.
A good resource for dried herbs and supplies is: mountainroseherbs.com
Basic tools for your home apothecary
These basic tools will help you build out your stock of plant medicines. You don’t have to have all of them at once. You can just start out with what you’ll need for the preparations you want to make first.
- Double Boiler Pan for melting bee’s wax when making salves.
- Quart mason jars with plastic lids for infusions and tinctures.
- A large strainer to strain out herbs.
- Cheesecloth
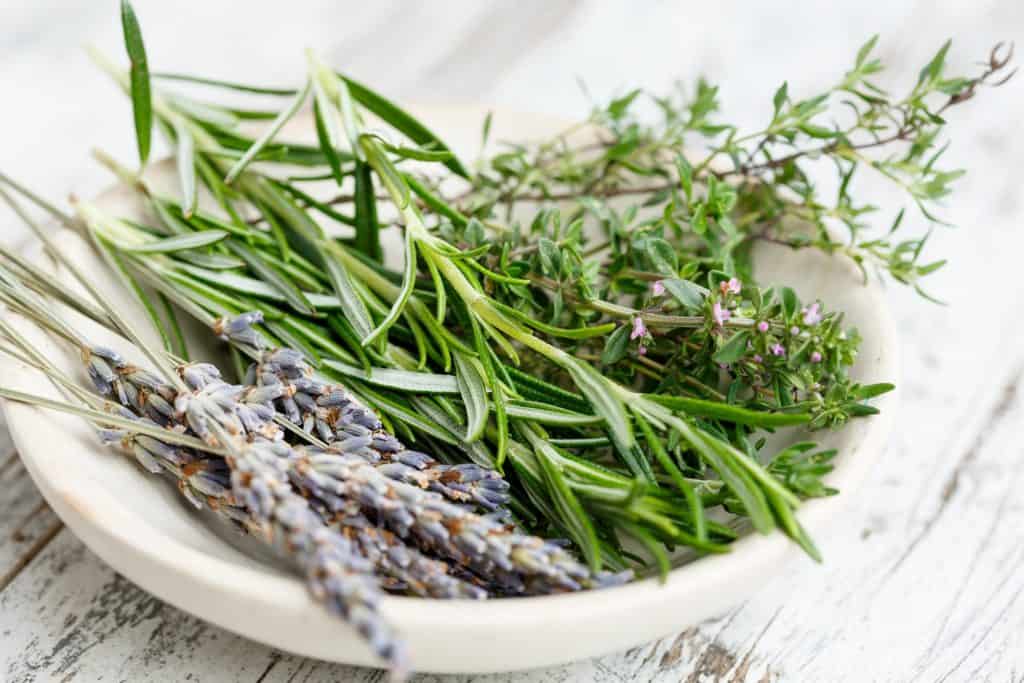
- Fresh organic dried herbs
- Tin containers for salves
- Essential oils, from a trusted brand
- 100 proof vodka or Everclear
- Olive oil
- Carrier oil, such as coconut oil ( I like fractionated coconut and sweet almond oil for this)
- Empty tea bags (or a reusable tea ball)
- Smaller jars for tinctures (these can even be salvaged from your recycling and repurposed)
- Capsules, the capsule holder
- Empty Spray bottles
- Vinegar – the good kind, with the “mother” like Bragg’s
- Roller Balls
This is a pretty long list, and it might not fit into your budget or storage space. Again, there’s no need to get all these things at once. You can select which items you’ll need for the herbal preparations you want to try first. As always, start simple.
Easy ways to build your home apothecary
- It’s always best to start simple. Make just a small batch the first time you try each type of preparation. That way, you’re not wasting too much material if it doesn’t go well. Begin with simple preparations, too. Those that don’t require too much effort will give you the best shot at being successful when you’re just beginning.
Tip: For inspiration on recipes you might like to try, you might want to check your local library for books on herbs, plant medicine, and herbal preparations. Amazon is sure to have many options too if you’re building a home herbal library.
- You might also want to add essential oils to your apothecary. The oils are taken from the plants by using a pressure steamer that presses the precious oils out of the plant. These have gained a lot of popularity in recent years and are widely available. Just be sure to buy high quality oils, educate yourself on how to use them safely and always use caution with them since they are very concentrated and therefore, powerful.
As a side note, I’ve been using essential oils for more than 20 years, and I advocate for only using them externally in appropriate dilutions. Just like with herbs, safety is a key component in using essential oils and they are not suitable for everyone. Pets and children will require special considerations as well. There are many good resources available. Be sure to educate yourself on the proper and safe use of essential oils before you begin using them.
Tip: Two high quality brands of oils that I use and love are Aura Cacia and Plant Therapy.
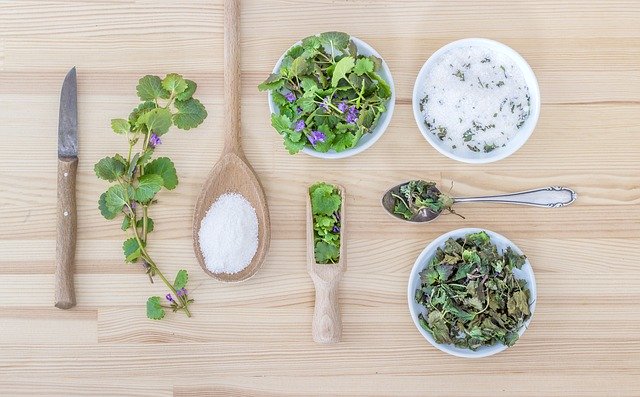
- Another easy thing you can do is to buy empty tea bags or a tea ball and a bag of dried chamomile flowers. Just add a tablespoon to the bags, and you’ll have yourself a calming tea to brew when you feel stressed or a need to calm down. Try peppermint if you need a pick-me-up.
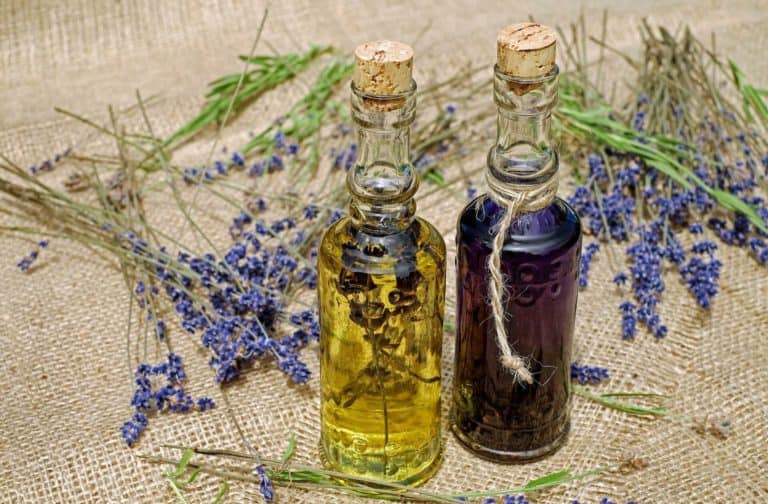
- A carrier oil mixed with lavender essential oil can be used to make lavender roller balls to put by your bed. (Lavender is nice for sleep.)
Tip: Peppermint essential oil in an inhaler can be great to use with hot flashes. It’s easy to carry with you and easy to use. Just inhale them at the beginning of a hot flash to cool them down. I like the inhalers that look like a tube of lipstick for this.
Just as with learning each herb, begin practicing with each of the methods one at a time, and soon you’ll be able to do it like a pro for each type.
When you’re ready to try a bit more, there are other techniques and methods you can try. Keep reading for those.
There are various methods to choose from
There are various ways to make and use plant medicine. Many home remedies can be easily created in the kitchen with just a few items already on hand.
Empty jars, olive oil, and some dried herbs, are all you need to get started.
Making your own plant medicine is generally easy and has many benefits, including the fact that when you make your own preparations, you know exactly what’s in them. You’ll be making them with all-natural ingredients, and no synthetic ingredients or additives. Many folks like this about plant medicines.

Home Apothecary Options:
- Capsules
- Tinctures
- Infusions
- Teas
- Salves
- Poultice
- Oil
- Syrups
- Boiling Decoctions
- Soaps
- Bath salts
Let’s take a look at what each of these mean:
- Capsules are convenient and easy to take. Simply add the dry crushed herbs to a capsule and close it up, and you’ll have an option that’s handy and travels well. There are many types. I look for clean, vegan options.
- Tinctures are made with vodka or vinegar, to preserve the herbs and to draw out the properties of the herbs. Alcohol will draw out more properties than vinegar will. By adding the dosage to warm water, the alcohol will dissipate. Vinegar is a good substitute, though, for those who want to avoid alcohol altogether.
Tip: Everclear is useful for tinctures.
- Teas are often a simple medicine that can be made very quickly and is much easier to take if you are already sick.
- Infusions are another quick (and easily made) medicine that is made with boiling water poured over the dry herbs, sealed, and allowed to come to room temperature or the time called for by the recipe. It can then be used the same day or the next. It’s a step up from the tea, but way more powerful.
- Salves are often made with melted beeswax mixed with herbs. Then it is stored in a small container for travel or home use.
- Poultice is crushed or mashed up herbs that are then placed on a wound. A quick poultice would be to use plantain (found out in the yard) when you get a bee sting. Gently chew up a leaf, (just a little, not too much), then place that right on the sting. It cools and draws out the pain at the same time. Keep that in mind next time you get stung while gardening.
- Oils are used to cover up dry herbs. This then, creates oils that can be added to many things, such as salves or soaps that you create for your family. These can be saved for a while (but watch them for rancidity) and added when needed for other plant medicine recipes.
- Syrups are used for colds and flu symptoms. Elderberry is a favorite among herbalists. Made fresh each season for the coming winter, it’s a must-have in many natural medicine arsenals.
- Decoctions are often made with roots in boiling water. Roots are tough, and if you just add hot water over them in a jar, you really won’t be able to extract much out of the plant. Simmering them in water is a better way to get the healing properties out of them.
- Soaps and Bath Salts are among the things you can make and add to your plant medicine cabinet. These are easy to make, and they are amazing gifts to give for the holidays. Of course, they’re wonderful to use for yourself too!
Summary of Start Your Home Apothecary
There are many options for building your stock of plant medicines. Some methods may work better for you than others. Experiment, using small batches. Keeping notes on your progress can be valuable here just as it is with learning each plant’s qualities. Over time, you will see what works for you, what doesn’t, and you’ll refine your processes and methods too.
Just like with learning each plant, begin with just one of these types of plant medicine to avoid overwhelm. Then, when that becomes easy for you, add another and then another. Over time, your knowledge, expertise, and confidence in making these items will grow.
Of course, learning to use herbs and how to prepare them is a long journey. Just like with anything, educating yourself by reading, taking classes, listening to experts in the field, and growing and using your own herbs will help you on this journey.
Building your home apothecary is definitely worth the time you’ll spend doing it.
Next week, we’ll look at making infusions – oil, water, and alcohol.
While you’re here, if you loved this, please be sure to sign-up for the free newsletter. The form is in the footer.
Blessed be.
You might like these too:
Other posts in the Plant Medicine Series:
Plant Medicine to Make in the Fall
8 Plant Medicines Found in Your Kitchen
Disclaimer: I’m not a medical doctor or an herbalist or an aromatherapist. This article isn’t intended to be medical advice. Not all plants are safe to use. Some are toxic and can be deadly. Others may cause an allergic reaction in some people. Always consult your doctor, healthcare provider, qualified herbalist or aromatherapist before using any type of plant medicine or essential oil.


